Website Builder Comparison Tool
Select your priorities to find the best website building method for your needs
Recommended Solution
Why this option works for you:
If you're wondering how to make your own website, you’re in the right place. In the next few minutes we’ll walk through everything you need - from picking a name to launching the live site - without assuming any prior coding knowledge.
Key Takeaways
- Choose a memorable domain name and reliable hosting before you start building.
- Four main paths exist: hand‑code with HTML/CSS/JS, use a Content Management System like WordPress (a popular open‑source CMS that powers over 40% of the web), or drag‑and‑drop builders such as Wix (a cloud‑based website builder offering hundreds of templates) and Squarespace (a design‑focused platform with built‑in e‑commerce tools).
- Follow a simple 7‑step checklist to go from idea to live site.
- Secure your site with an SSL certificate and set up basic SEO to get found.
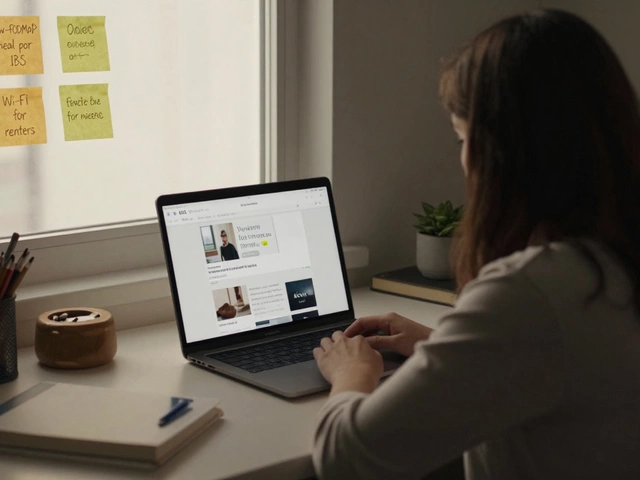
1. Plan Your Site - Purpose, Audience, Content
Before you buy anything, write down what the site will do. Is it a personal portfolio, a blog about cooking, or a small online store? Define your target audience and list the core pages you’ll need - home, about, contact, product or blog pages. Sketch a rough sitemap on paper or a free tool like draw.io so you know the structure before you start building.
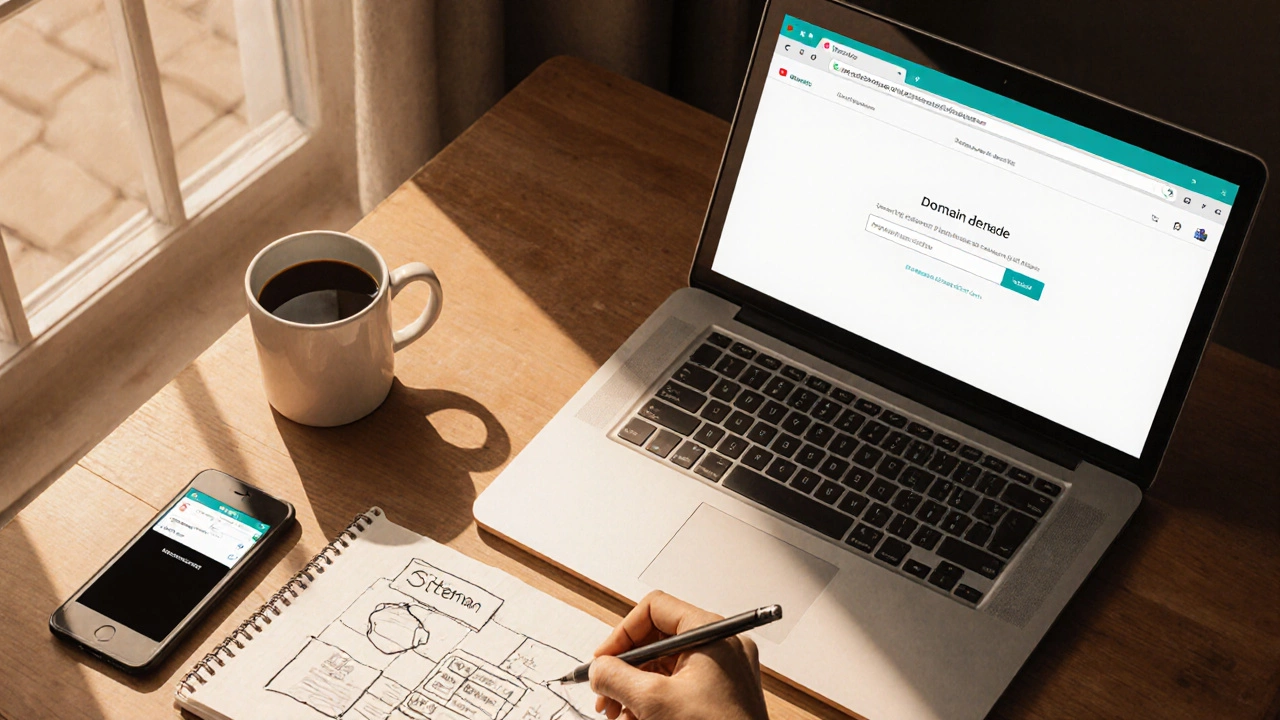
2. Pick a Domain Name
A domain is the address people type into their browser. It should be short, easy to spell, and reflect your brand. Use a Domain name (the human‑readable string that maps to an IP address, e.g., example.com) registrar like Namecheap, GoDaddy, or Google Domains. Check availability, consider a .com extension for credibility, and secure the name for at least a year.
3. Choose a Web Hosting Provider
Hosting is the service that stores your files and serves them to visitors. Look for a provider that offers good uptime (99.9%+), SSD storage, and easy one‑click installs for popular platforms. A Web hosting (a service that provides storage space and bandwidth for websites) plan typically costs between $3 and $10 per month for shared hosting - enough for most beginners.
4. Decide How You’ll Build the Site
There are four common approaches. Pick the one that matches your skill level, budget, and long‑term goals.
| Method | Cost (first year) | Ease of Use | Customizability | SEO Flexibility |
|---|---|---|---|---|
| Hand‑code (HTML/CSS/JS) | Free + hosting | Medium‑Hard | Full control | Maximum |
| WordPress (self‑hosted) | $50-$100 (hosting + premium theme) | Medium | High (plugins, themes) | High |
| Wix | $180 (premium plan) | Easy (drag‑and‑drop) | Medium (limited code access) | Medium |
| Squarespace | $156 (annual plan) | Easy | Medium | Medium |
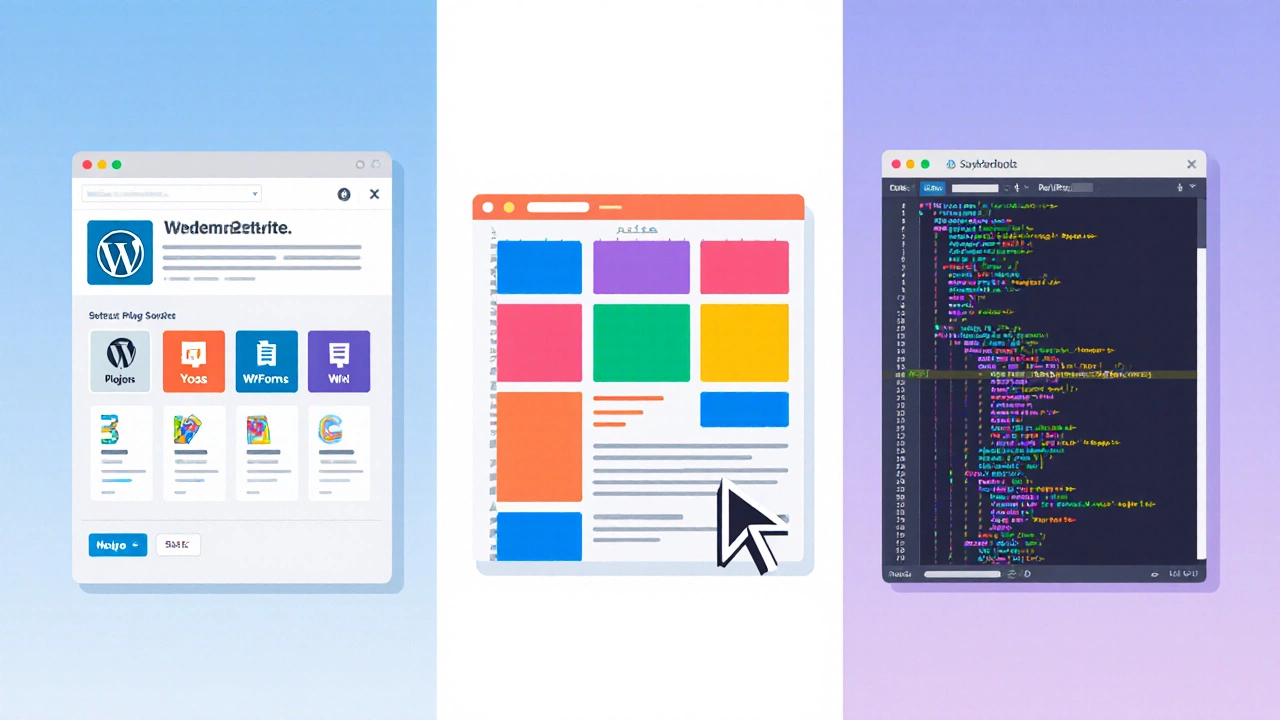
5. Building with a Content Management System - WordPress
WordPress powers everything from blogs to e‑commerce sites. Here’s a quick 5‑step starter guide:
- Log into your hosting control panel and use the one‑click installer for WordPress (an open‑source CMS that offers themes and plugins for endless functionality).
- Choose a responsive theme. Free options like “Twenty Twenty‑Three” work well; premium themes from ThemeForest add more design flexibility.
- Install essential plugins: Yoast SEO for search optimization, WPForms for contact forms, and UpdraftPlus for backups.
- Create your core pages (Home, About, Contact) using the block editor. Add a blog section if you plan to post articles.
- Set up permalinks (Settings → Permalinks → Post name) and enable an SSL certificate (encryption protocol that secures data between browser and server) via your host’s dashboard.
Once done, preview on desktop and mobile, then hit “Publish”.
6. Drag‑and‑Drop Builders - Wix & Squarespace
If you prefer a visual editor, follow these steps for either platform:
- Sign up on the Wix or Squarespace website and choose a template that matches your industry.
- Customize colors, fonts, and images by clicking directly on elements - no code needed.
- Use built‑in SEO settings: edit page titles, meta descriptions, and alt text for images.
- Add a contact form or ecommerce block if needed; both platforms provide integrated payment options.
- Connect your custom Domain name (usually via a “Connect Domain” wizard) and publish.
The main trade‑off is less flexibility for advanced custom features, but you get a polished site in a few hours.
7. Hand‑Coding with HTML, CSS, and JavaScript
For total control, learn the three core web languages. Here’s a streamlined workflow:
- Set up a local development folder. Inside, create
index.html,styles.css, andscript.js. - Write a basic HTML skeleton:
<!DOCTYPE html> <html lang="en"> <head> <meta charset="UTF-8"> <meta name="viewport" content="width=device-width, initial-scale=1.0"> <title>My Site</title> <link rel="stylesheet" href="styles.css"> </head> <body> <header><h1>Welcome</h1></header> <main>...</main> <script src="script.js"></script> </body> </html> - Style with CSS: use Flexbox or Grid for layout, add media queries for responsiveness.
body {font-family: Arial, sans-serif; margin:0;} header {background:#0044cc; color:#fff; padding:1rem;} @media (max-width:600px) {header {text-align:center;}} - Enhance interactivity with JavaScript - for example, a simple menu toggle.
const btn = document.querySelector('.menu-btn'); btn.addEventListener('click', () => { document.querySelector('nav').classList.toggle('open'); }); - Test locally by opening
index.htmlin a browser. Fix any console errors. - Deploy using FTP (FTP (File Transfer Protocol, used to upload files to a web server)) or a Git‑based service like Netlify. Enter your host’s FTP credentials, drag the folder, and publish.
Hand‑coding gives you the fastest load times and absolute design freedom, but it requires a learning curve.
8. Design Basics - Making It Look Good
Regardless of the method, these design principles keep visitors happy:
- Consistency: use the same font family and color palette across pages.
- Whitespace: avoid clutter; give elements room to breathe.
- Responsive Layout: test on phones, tablets, and desktops. Tools like Chrome DevTools let you simulate screen sizes.
- Accessibility: add
altattributes to images and ensure sufficient color contrast.
9. Essential Add‑Ons - SSL, SEO, and Analytics
Before you announce the site, enable a few must‑haves:
- SSL Certificate: Most hosts offer a free Let’s Encrypt certificate. Activate it in your control panel so URLs become
https://and browsers show a lock icon. - Basic SEO: Write unique title tags (70 characters max) and meta descriptions (155 characters). Use header tags (
<h1>,<h2>) to structure content. Submit a sitemap to Google Search Console. - Analytics: Sign up for Google Analytics or the more privacy‑friendly Plausible. Insert the tracking script before the closing
</head>tag.
10. Launch, Test, and Iterate
Hit the publish button, then run a quick checklist:
- All links work (use a broken‑link checker).
- Pages load under 3 seconds (test with PageSpeed Insights).
- Forms submit correctly - send a test message.
- Mobile view looks good - tap every button.
Collect feedback from friends or a small user group, fix any issues, and start sharing the URL on social media, email signatures, and business cards.
Frequently Asked Questions
Do I need a separate domain for each website?
Not necessarily. If the sites serve different audiences, a distinct domain helps branding and SEO. Otherwise, subdomains (blog.example.com) or subfolders (example.com/blog) work fine.
Is WordPress really free?
The core software is open‑source and free. You’ll still pay for hosting, a domain, and possibly premium themes or plugins.
Can I switch from Wix to WordPress later?
Yes, but it requires exporting content, rebuilding the design, and pointing the domain to the new host. Planning ahead with a CMS‑friendly structure eases the move.
Do I need to know HTML to use a website builder?
No. Drag‑and‑drop platforms let you create pages without touching code. Learning a bit of HTML can help with custom tweaks, though.
How often should I update my site?
At least once a month for security patches and fresh content. Major redesigns can be spaced out every 1‑2 years.