Website Builder Comparison Tool
Select Your Top Priority:
Which factor matters most for your new website?
Comparison Results
Click a priority on the left to see which platform wins.
You want a website up and running today. You don't want to pay for hosting. You don't want to write code. And you definitely don't want to deal with complex server setups. If that sounds like your situation, you are not alone. Most people start here.
Google offers a tool called Google Sites is a drag-and-drop website builder that allows users to create responsive websites without coding knowledge. It integrates directly with the Google ecosystem, meaning your Drive files, YouTube videos, and Calendar events can live right on your pages. The best part? It costs absolutely nothing. There are no hidden fees, no trial periods that expire, and no credit card required.
This guide will walk you through building a professional-looking site from scratch in under an hour. We will cover setup, design, content addition, and publishing. By the end, you will have a live URL ready to share.
Why Choose Google Sites Over Other Builders?
When you search for "free website builders," you see names like Wix, Weebly, and WordPress.com. They all offer free tiers. So why pick Google?
The answer comes down to simplicity and integration. Wix puts their branding on your site and limits bandwidth. WordPress requires maintenance updates and security patches. Google Sites removes these friction points. Because it lives inside your Google Account, security is handled by Google's infrastructure. You never worry about hacking or server crashes.
Furthermore, if you already use Gmail, Docs, or Sheets, the workflow is seamless. You can embed a live Google Sheet as a contact form or a portfolio grid. This saves hours of copy-pasting data manually.
| Feature | Google Sites | Wix (Free) | WordPress.com (Free) |
|---|---|---|---|
| Cost | $0 forever | $0 (with ads) | $0 (limited storage) |
| Custom Domain | Yes (paid via GoDaddy etc.) | No (requires premium) | No (requires premium) |
| Ads on Site | None | Yes (Wix banner) | Yes (WordPress ads) |
| Storage Limit | Tied to Google Drive (15GB+) | 500MB | 1GB |
| E-commerce | Limited (embeds only) | No (on free plan) | No (on free plan) |
Step 1: Accessing Google Sites
You do not need to download any software. Everything happens in your web browser. Open Chrome, Firefox, or Edge and go to sites.google.com. If you are not logged in, sign in with your personal Gmail address or your work/school account if you have one.
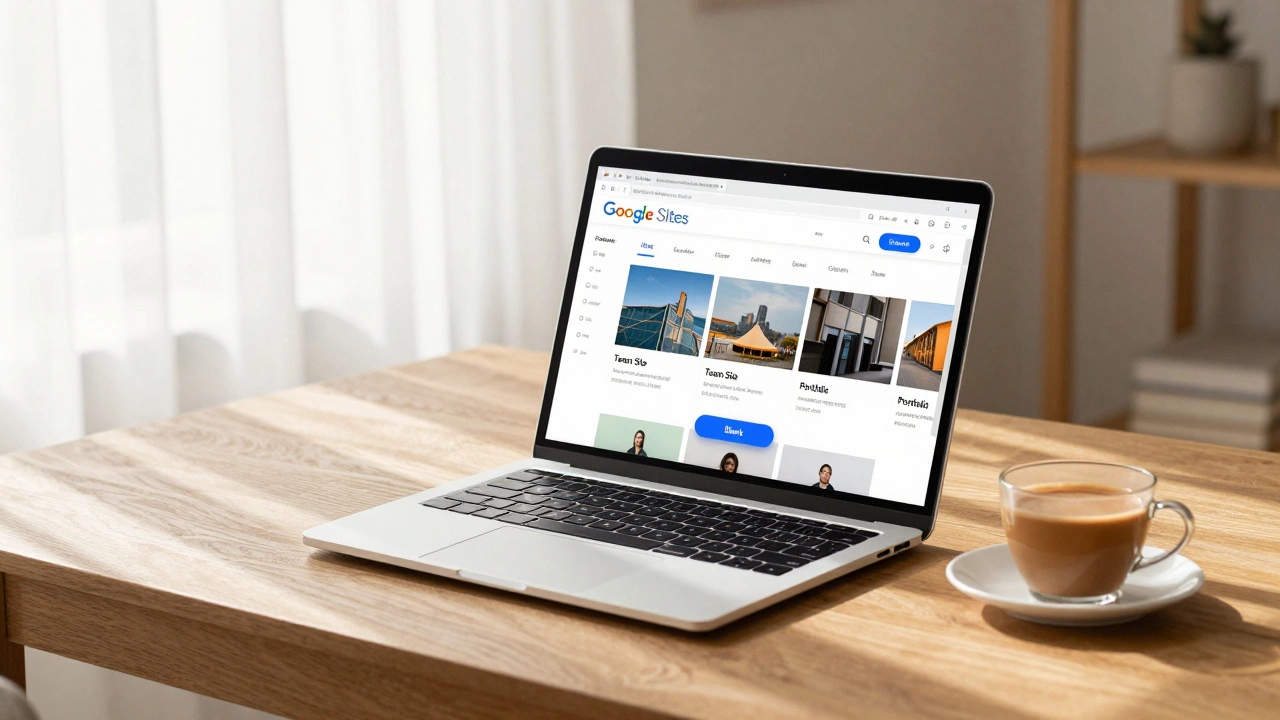
Once logged in, you will see a dashboard. Click the big blue button labeled "Blank" to start from scratch, or choose a template if you want a head start. Templates include options for "Team Site," "Event," "Portfolio," and "Club." For this guide, we will stick to the blank canvas so you understand how every element works.
Step 2: Setting Up Your Homepage
Your homepage is the first thing visitors see. It needs to be clear and inviting. On the right-hand side of the screen, you will see two panels: "Insert" and "Themes."
Start with the header. Click the area at the top of the page. You can change the style from "Cover" (large image) to "Banner" or "Wrapped." Upload a high-quality image from your computer or select one from Unsplash, which is integrated into the tool. Add a title, such as "My Photography Portfolio" or "John's Consulting Services." Add a subtitle below it to explain what the site is about.
Next, add content blocks. In the "Insert" panel, look for "Text boxes." Drag a text box onto the page. Type a brief introduction. Keep paragraphs short. People skim websites; they do not read novels online.
Step 3: Adding Pages and Navigation
A single-page site rarely works for more than basic information. You likely need an "About" page, a "Contact" page, and perhaps a "Services" page.
Click the "Pages" tab in the right sidebar. You will see "Home" listed. Click the "+" icon to add a new page. Name it "About." A dropdown menu will appear allowing you to add sub-pages if needed. For now, keep it simple.
As you add pages, notice the navigation bar at the top of your preview. You can reorder pages by dragging them left or right. You can also hide pages from the main menu by clicking the three dots next to the page name and selecting "Hide in navigation." This is useful for thank-you pages or private documents.

Step 4: Embedding Google Content
This is where Google Sites shines. Let's say you have a YouTube video tutorial. Instead of asking users to leave your site, embed the video directly.
- Go to the "Insert" panel.
- Select "YouTube."
- Paste the URL of your video or search for it by title.
- Click "Insert."
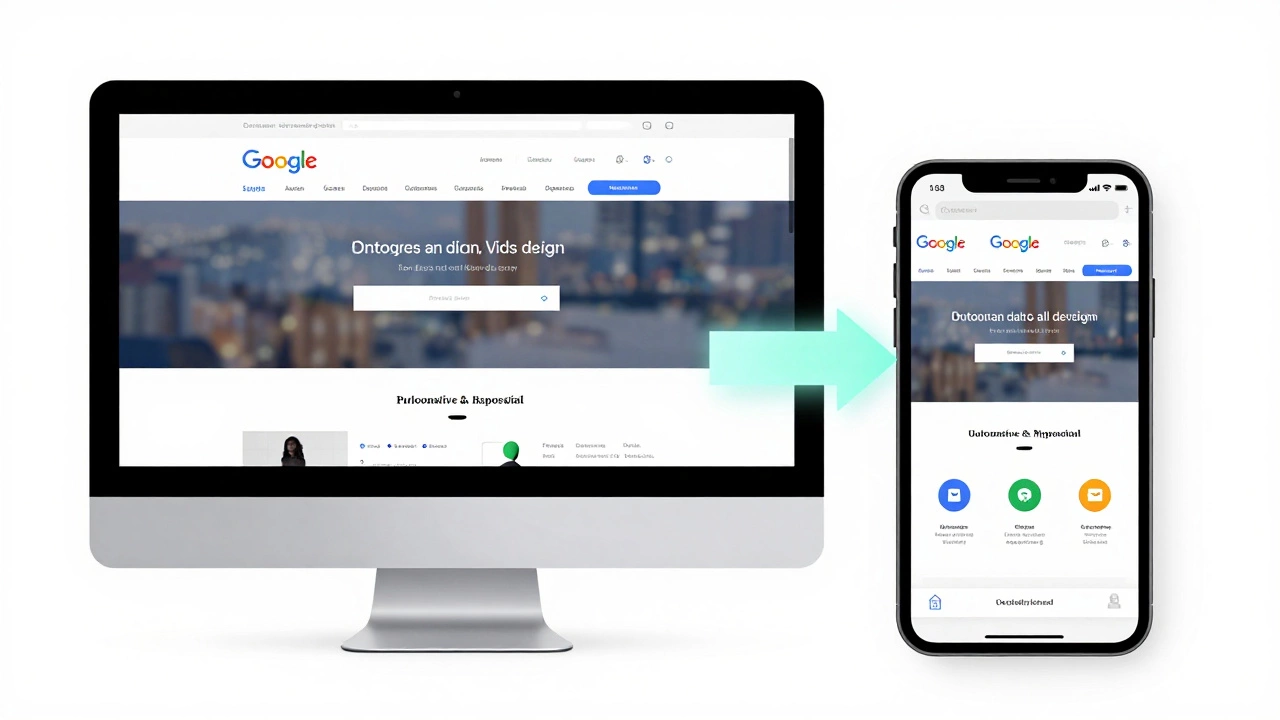
The video appears on your page. You can resize it by dragging the corners. Resize images and embedded elements carefully to ensure they look good on mobile devices. Google Sites automatically makes layouts responsive, but extreme aspect ratios can look odd on phones.
You can also embed:
- Google Maps: Great for local businesses showing store locations.
- Google Drive Files: Share PDFs, presentations, or spreadsheets securely.
- Google Forms: Create contact forms or surveys without third-party tools.
Step 5: Customizing Themes and Colors
Design does not require artistic talent. Use the "Themes" panel on the right. Google provides several pre-made themes like "Aristotle," "Simple," and "Vision." Each theme sets fonts, colors, and header styles automatically.
If you want to tweak specific colors, click the "Custom Theme" option. Here you can adjust the primary color, background color, and font family. Stick to two or three colors maximum. Too many colors make a site look chaotic. Ensure there is enough contrast between text and background for readability.
Step 6: Publishing Your Website
Once you are happy with the layout, click the "Publish" button in the top right corner. A dialog box will ask for two things:
- Web Address: This is your URL. It will look like
sites.google.com/view/your-sitename. Choose a name that is easy to spell and remember. - Access: Decide who can view the site. Options include "Anyone on the internet with the link" or "Only people in [Organization]" if using a Workspace account.
Click "Publish." Your site is now live. Copy the URL and test it in a new incognito window to see what visitors experience.
Can You Use a Custom Domain?
Yes. While the default URL is long, you can connect a custom domain like www.yourbrand.com. This feature is still free, but you must buy the domain name itself from a registrar like GoDaddy, Namecheap, or Squarespace. Prices typically range from $10 to $15 per year.
To connect it:
- Buy your domain.
- In Google Sites, click "Custom domains" in the publish settings.
- Follow the DNS verification steps provided by Google.
- Update your domain registrar's settings to point to Google's servers.
This process usually takes 24 to 48 hours to propagate globally.
Limitations to Know Before You Start
Google Sites is powerful, but it is not perfect. It lacks some features found in paid builders.
- No E-commerce: You cannot sell products directly with a shopping cart. You can link to PayPal buttons or external stores, but checkout happens off-site.
- Limited Design Control: You cannot move elements pixel-perfectly. Layouts are block-based. If you need a highly unique, asymmetrical design, this tool may feel restrictive.
- No Blogging Features: There is no built-in blog module with categories, tags, or RSS feeds. You would need to embed a separate blogging platform or use Google Blogger separately.
- SEO Constraints: Basic SEO is available (titles, descriptions), but advanced meta-tag editing is limited compared to WordPress.
Best Use Cases for Google Sites
Given these limitations, who should use Google Sites? It is ideal for:
- Internal Company Portals: HR policies, team directories, and project documentation.
- Event Landing Pages: Wedding invitations, conference schedules, or party details.
- Small Business Brochures: Restaurants, freelancers, or consultants needing a simple presence.
- Student Projects: Class portfolios or research displays.
If you are launching an online store or a high-traffic news blog, consider upgrading to Shopify or WordPress.org later. But for starting out, Google Sites removes the financial barrier entirely.
Is Google Sites really 100% free?
Yes. The core functionality of Google Sites is completely free. There are no monthly fees. The only cost you might incur is purchasing a custom domain name (e.g., .com) from a third-party registrar, which is optional.
Can I monetize my Google Sites website?
You can indirectly monetize by embedding affiliate links or advertising widgets from networks like Google AdSense (if approved). However, you cannot run a native e-commerce store with payment processing directly within Google Sites.
Does Google Sites support mobile devices?
Yes. All sites created on Google Sites are fully responsive. They automatically adjust their layout to fit smartphones, tablets, and desktop screens. You can preview the mobile version by clicking the phone icon in the editor toolbar.
How much storage space do I get?
Google Sites uses your Google Drive storage quota. Personal accounts come with 15 GB of shared storage across Gmail, Drive, and Photos. This is usually sufficient for text-heavy sites and moderate image usage.
Can I transfer my Google Site to another platform later?
Not directly. There is no "export to HTML" feature. To move to another platform, you would need to recreate the design and copy-paste your content manually. Plan your content strategy accordingly if you think you might migrate later.